Howto: Motorcycle Windshield Tint
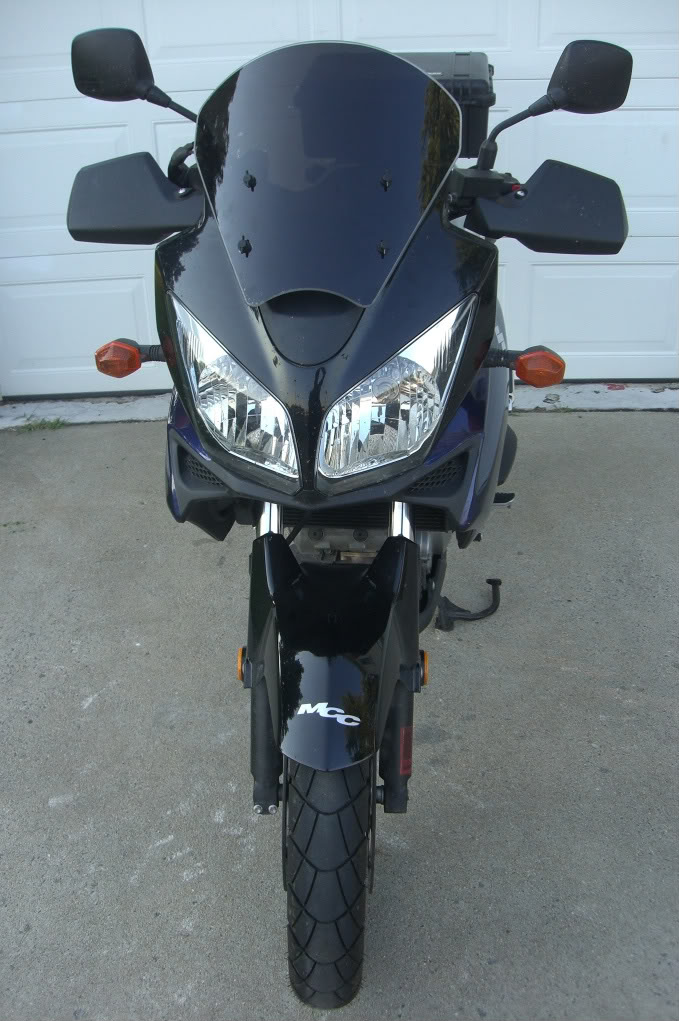
When I decided that I wanted to try to tint the windshield on my V-Strom, I began scouring the web for tips, advice and hopefully a photo or two to get myself on the right track. I was surprised to find a bunch of nay-sayers recommending people buy a tinted windshield instead. I pressed on despite the cowards, and the result was a total success.
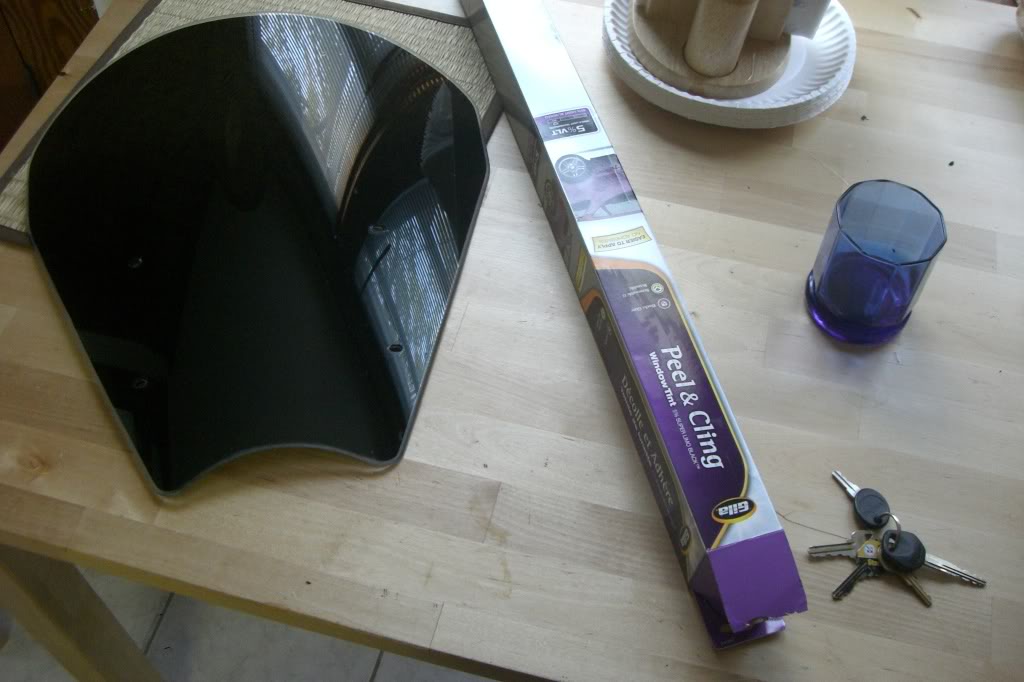
Some of the arguments against tinting your own windscreen are valid, but I nailed it on the first try with one continuous piece of window tint film. This method is not the only solution, but I believe it is quick and easy when compared to alternatives.
Motorcycle Windshield Tint Options
- Cut and fit window tint film
- Spray on tint or transparent spray paint
- Liquid fabric dye
Tint film may not be an option if your windshield has compound curves. For this tutorial, I tinted a 14.5″ MP Cycle shield for my V-Strom. Spray or dye may be a more realistic option for a “bubble” screen.
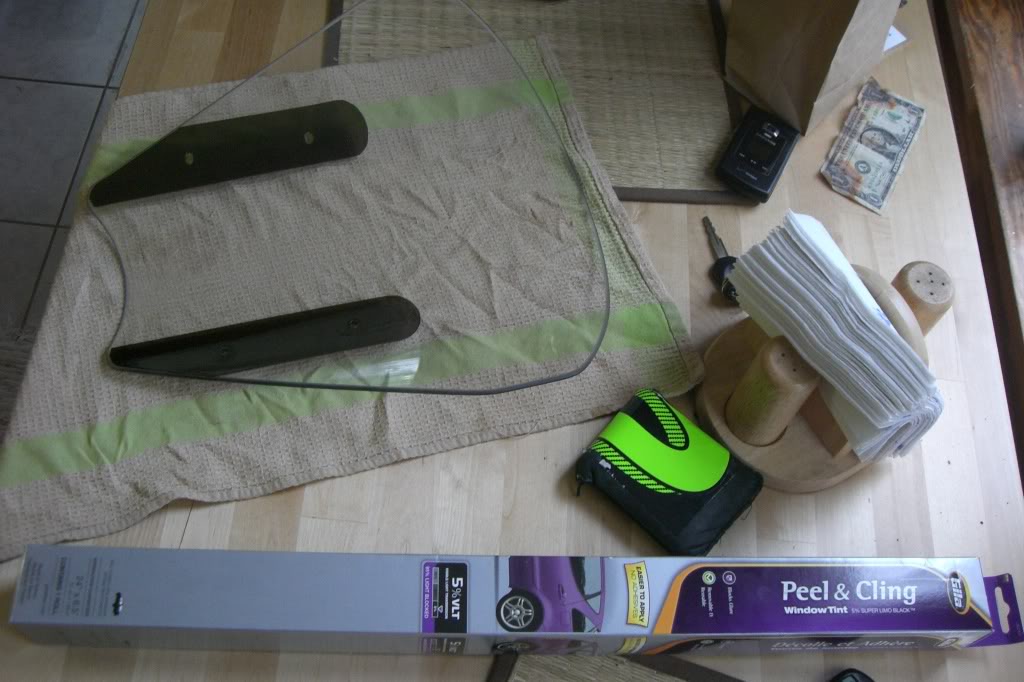
I purchased a roll of Gila “Peel and Cling” window tint from my local Auto Zone. This type requires a spray bottle of Window Film Application Solution, which I neglected to purchase on my first trip to the store. Hey, another ride around town is no big deal, right?.
What you need
Here is a complete list of what I used to tint my windshield:
- Roll of window tint film
- Bottle of film applicator
- Window or glass cleaner
- Sponge
- Squeegee or credit card
- Scissors
- Sharp knife
- Paper towels
- Beers
How to tint a motorcycle windshield
-
Remove and thoroughly clean the wind screen
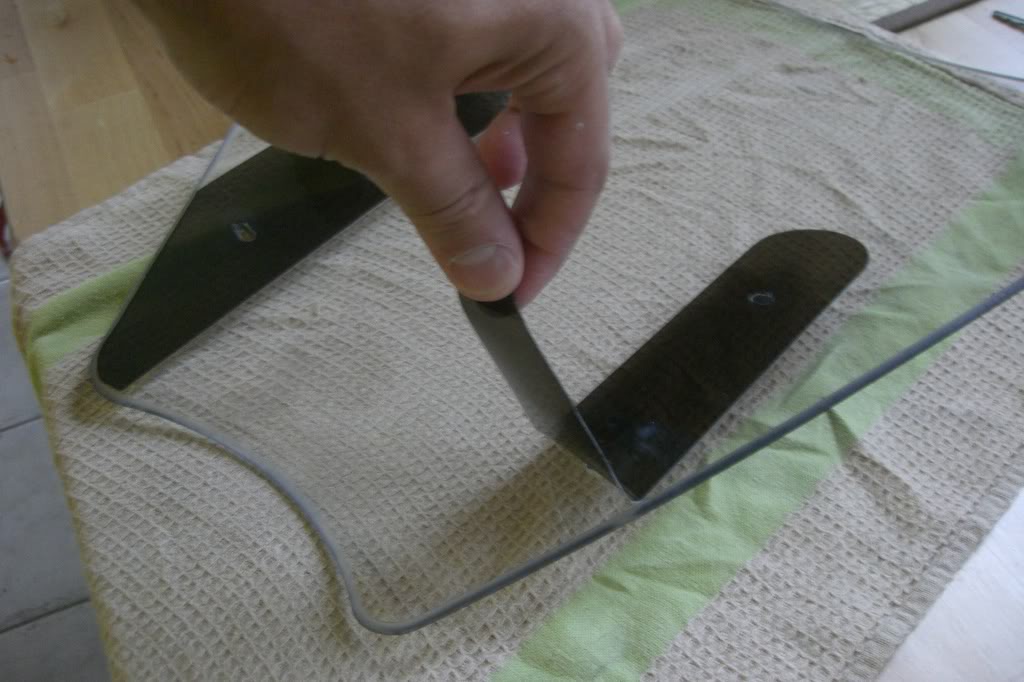 Prepare your windshield for tint by removing it from your bike and cleaning it until it is spotless. Hot water, a sponge and a lot of Windex helped me clean the insect graveyard from my screen. I was able to remove the thick stickers around the mounting holes and reapply them on top of the tint.
 -
Rough cut a piece of tint film
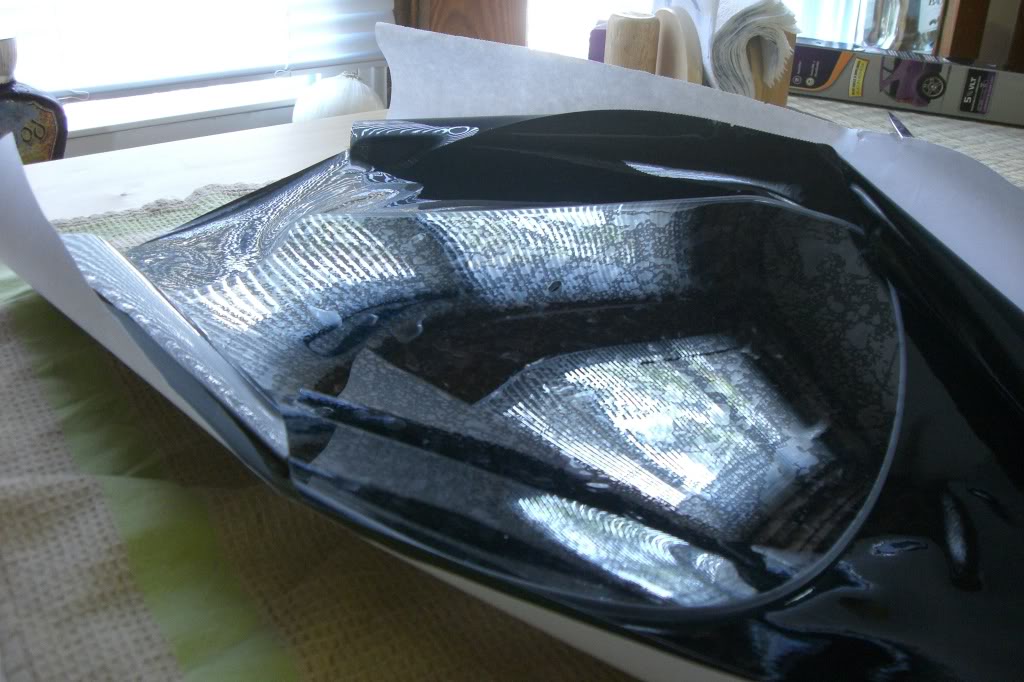 Start with a piece of tint film that is a bit larger than the windshield. I decided it is easier to make the “final cut” after the tint is stuck in place on the screen. The paper backing on the tint film prevents it from laying in place and complicates any cuts. To prepare the tint film to be applied, place the film on the outside of the windshield and allow it to cling in place with minimal air bubbles.
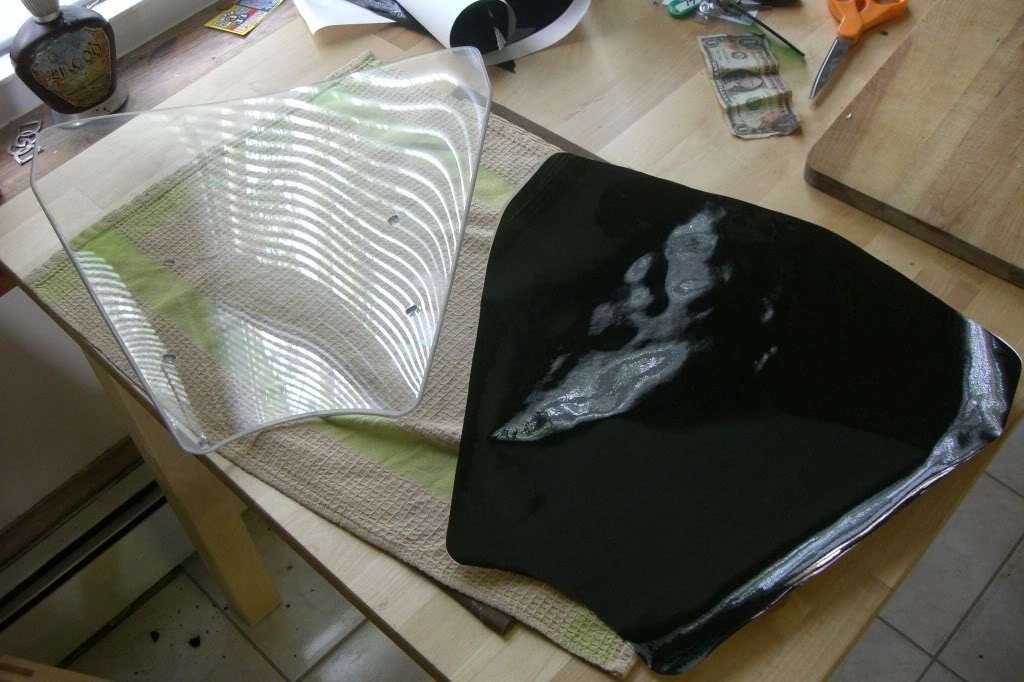 The film will stick to the shield well enough to give you a free hand. Cut around the edge of the windshield with scissors. This cut, combined with the slightly larger size of the outside face of the shield, will leave about a quarter of an inch extra film at the edge.
 -
Apply the window tint film to the windshield
The type of tint film I bought required a spray on applicator solution to adhere the film to the surface of the windshield. This liquid prevented the tint film from quickly bonding itself to the screen after application. Remove the paper backing from the tint, and spray down the inside of the windshield and this newly exposed side of the tint film with the applicator.
Hold your hands close together so the middle of the film hangs between, and lay the film on the inside of the windshield from the center outwards. Gently move the piece of tint film into a place where the overlap is equal the whole way around. Begin smoothing the tint from the center out to the edges both horizontally and vertically with your hand. I suggest a little hand work because with a squeegee or a credit card, movements perpendicular to the curve are tricky. I used a credit card with a small cloth wrapped around it to avoid scratching the tint. Remove all of the excess air and liquid applicator from between the tint and your windshield, and let the shield dry completely.
I have no pictures for this step because of the time sensitivity. Act quickly and there will be plenty of time to orient the film in place before it starts to set.
-
Make a final cut with a knife
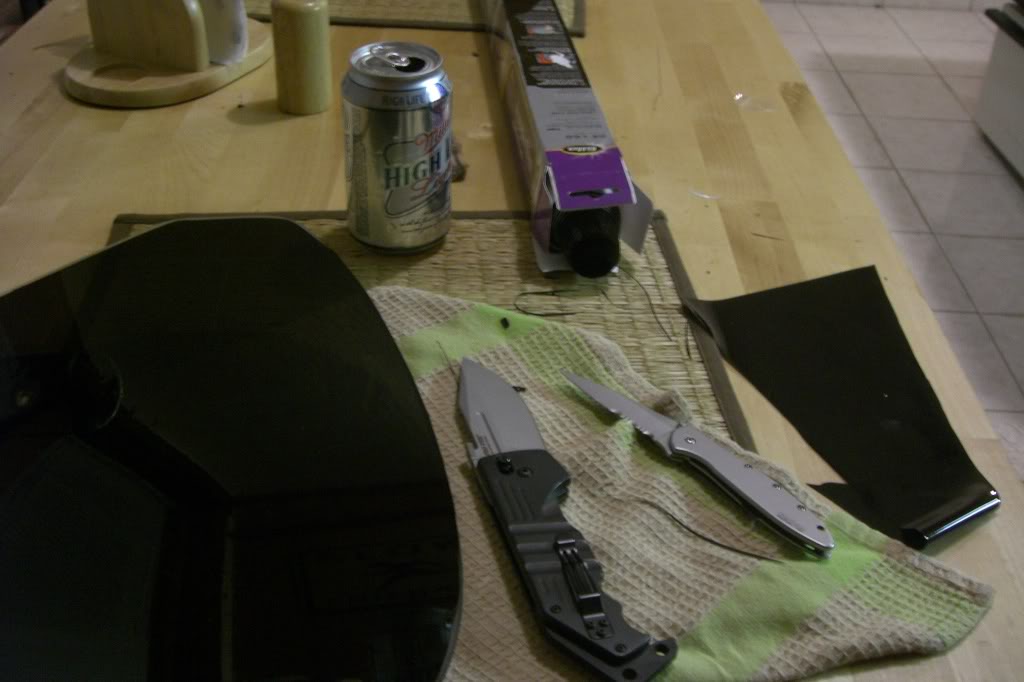 Use a sharp knife to finalize your edge. Trace the outline of the windshield to remove the excess film that overlaps the edge of the shield. There should be a seam in the plastic where the beveled edge meets the back face of the windshield. This is also the point at which the film stops sticking to the plastic.
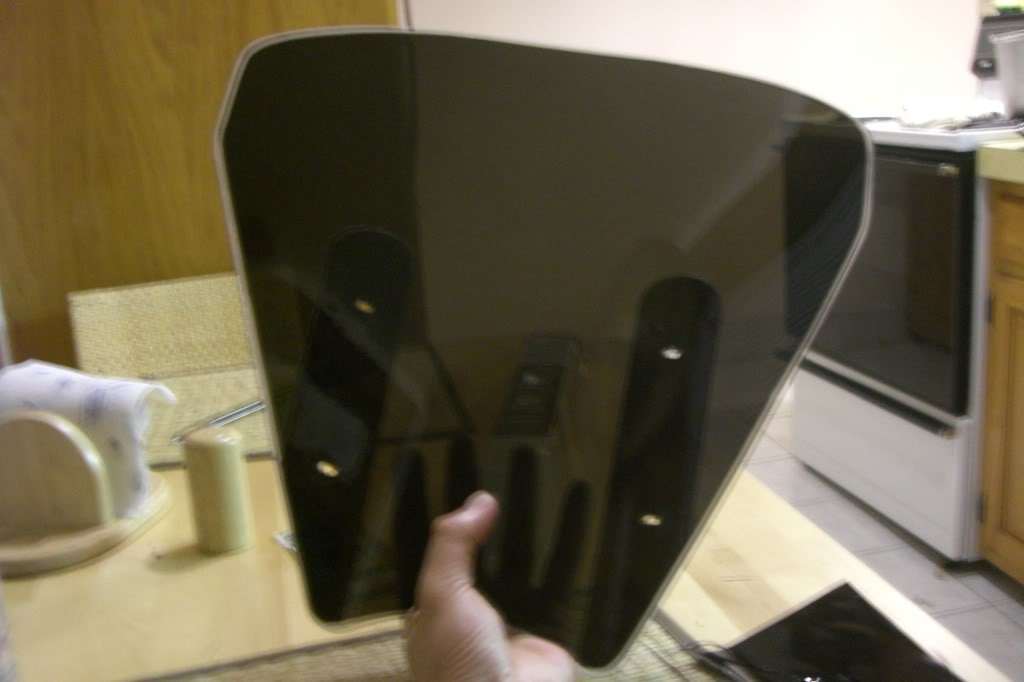 Cutting along this line will leave a clear rounded edge. Notice the difference in these last two pictures. The first of these two shows the knives I used and the overlapping film that is not sticking to the shield.
This project was a lot of fun, and I would like to tint the other MP Cycle and the original Suzuki screens I own as well. These tasks will have to wait because my favorite windshield is already tinted.
Posted on August 31st, 2008 in Tutorials | 9 Comments »
September 24th, 2008 at 4:58 pm
Great article. It looks like you tinted the forward side of the windshield. Is there any thoughts for or against tinting the side facing the rider?
Thanks!
September 24th, 2008 at 9:53 pm
Thanks, Ken. The picture that shows the tint film on the outside of the windshield is how I made a rough cut before applying the film. The film clings to the shield better on the outside of the curve than on the inside. When cutting the film, you need as many free hands as possible.
The tint is adhered to the inside of the shield or towards the rider. The glare in the last pic should give it away.
May 17th, 2009 at 9:51 pm
Wow! Looks great I’m going to get some right now and try it….Thanks
August 31st, 2009 at 8:38 pm
What a great article, thanks for taking the time to do this. All other info I found says it can’t be done on Lexan, well it looks to me that it can and I’m going to start on my Sportster tomorrow thanks to your help. I will follow up with a before/ after picture when I’m done…Steve J Mt Juliet, TN
September 1st, 2010 at 10:03 am
Will this work for tinting a helmet visor?
September 13th, 2010 at 10:08 am
Bob, I’m not sure. I’d suggest trying it on a spare visor, but getting a spare could mean just buying a tinted visor instead.
November 20th, 2010 at 3:46 pm
That is awesome, congrats on that. I agree, why spend the extra cash to buy another window with the tint already on it when you can buy the film and do it yourself.
March 17th, 2011 at 1:31 pm
Looks great for now but all surface applied tints tend to easily scratch haze etc.
Which is expectd,so I guess I’m curious if when it’s time to replace tint what effect it my on the windsheild
March 17th, 2011 at 1:40 pm
Eric:
Tint the back of your windshield instead of the side exposed to the elements.