Edit
')); ?>
Suzuki Tank Bra Removal
Earlier today, I removed the OEM V-Strom tank bra that has been hugging my fuel tank since the day I bought the bike. I like the protection it offers, but I am not a big fan of the woven bread basket look. Last week, I ordered a tankslapper film kit. It’s here, and today was the day the tank bra was yanked. More on the tankslapper here. Let’s remove that bra already, lady!
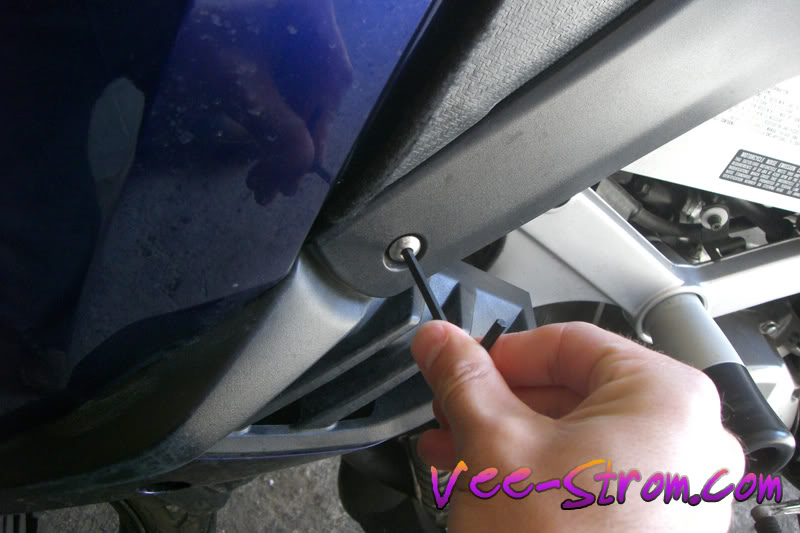
- Remove the black plastic side panels between the tank shrouds and the frame. A single 4mm allen bolt holds these guards on at the front. Remove it.
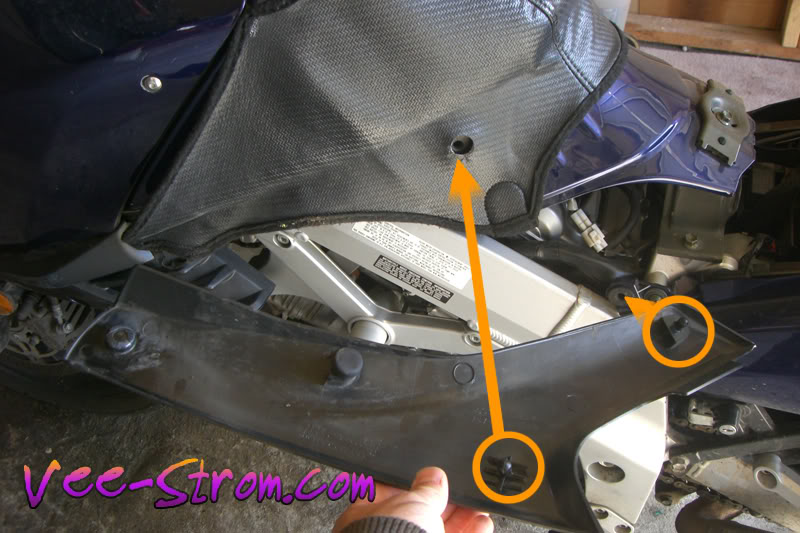
- Pull the side panel off. There’s really only one bolt holding each one of them on; I wasn’t kidding. The other two joints are plastic plug into rubber hole. I have highlighted them in orange, here.
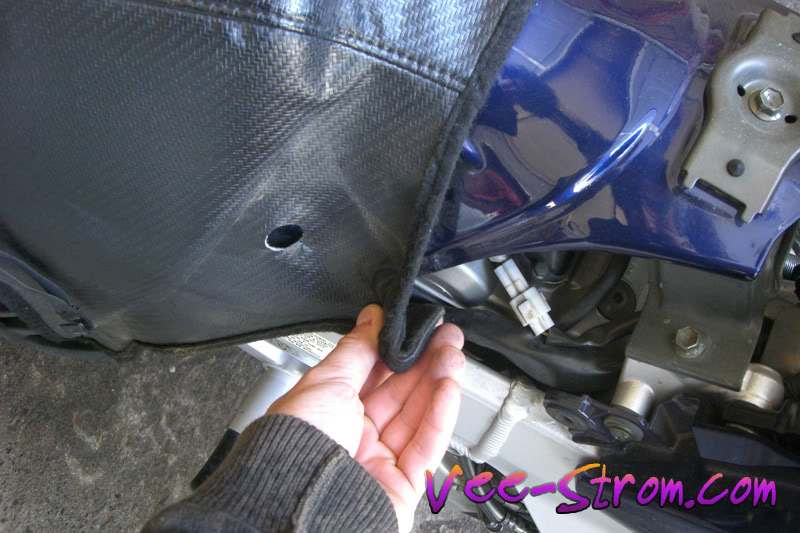
- Free the clips from the lower edge of your tank.
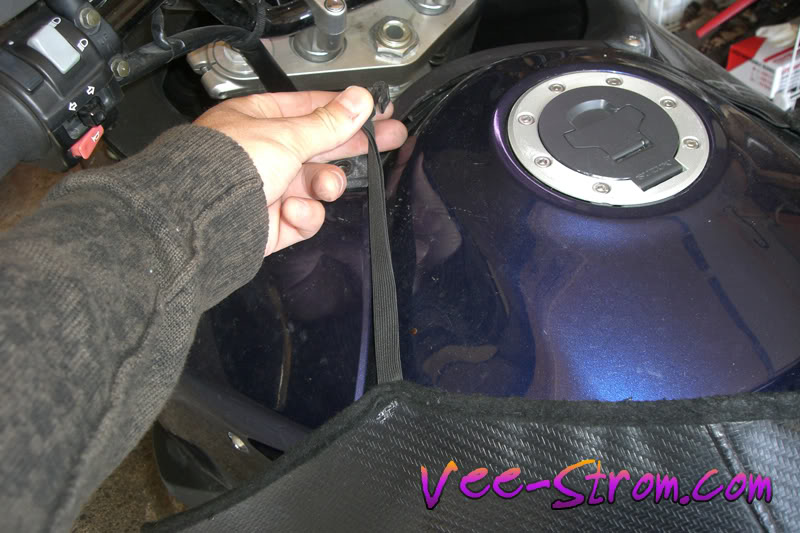
- Free the clips from the top edge of your tank. They squeeze between the front of the tank and the front mounting bracket. The small clip I am pinching between my fingers hooks right over the edge of the tank metal. The elastic strap sits just below the tank shrouds on either side.
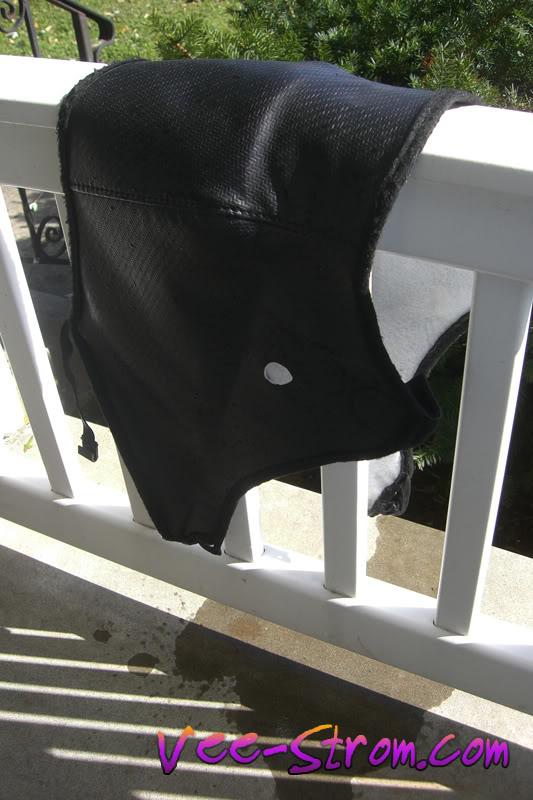
- Clean that tank bra up and find a buyer! Who wants to buy mine? I took this picture today after I hit it with the garden hose. It should be dry by now. Update: SOLD!
Posted on October 7th, 2009 in Tutorials | Comments Off on Suzuki Tank Bra Removal
Comments Off on Suzuki Tank Bra Removal